Things needed:
1/4" - 1/2" plywood {I used 1/2"}
2 x 4 board {size of your choice}
Staple gun & staples
Nails & nail gun
Foam fabric {optional.....I wanted it to be thicker so I used 1"}
Batting
Fabric
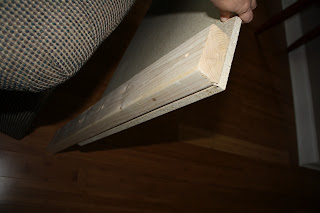
First cut the plywood to size needed. Since our mattress is on the floor, I only went 36" high to the top of the headboard. That means I cut (2) 2 x 4's at 36" each, and my plywood was cut 60" wide x 23-1/2" tall. Nail boards to the plywood.
Next, wrap and nail the foam and batting around it really tight. This is actually a two man job, so thanks honey for helping! Make sure you cut your foam, batting and fabric 2" longer to wrap around the back. I actually didn't get enough foam, so the legs only got the batting. Remember no one will see the back, so don't make it pretty!
Lastly, do the same with the fabric. Wait to cut your fabric until this part because with the foam and batting, it will take up a lot more space. I ended up using a 80" x 36" pc of fabric just to be safe.
Finally, the bed is done {many more projects to come, especially for the walls}. More to come soon!


No comments:
Post a Comment